TinyCld – Self-Hosted Google Workspace Alternative
Open-source workspace suite with mail, calendar, contacts, and drive. Self-host in 15 minutes with Docker. AGPL-3.0 licensed.
TL;DR
TL;DR: TinyCld is a free, open-source self-hosted workspace alternative to Google Apps, bundling mail, calendar, contacts, and drive in a single Docker container with a 15-minute setup time.
Source and Accuracy Notes
- Project page: tinycld.org
- Source repository: github.com/tinycld/tinycld
- License: AGPL-3.0 (verified via GitHub LICENSE file)
- HN launch thread: news.ycombinator.com/item?id=48295071
- Source last checked: 2026-06-16 (commit from main branch)
What Is TinyCld?
TinyCld is a self-hosted productivity suite that bundles six integrated apps into one Docker container:
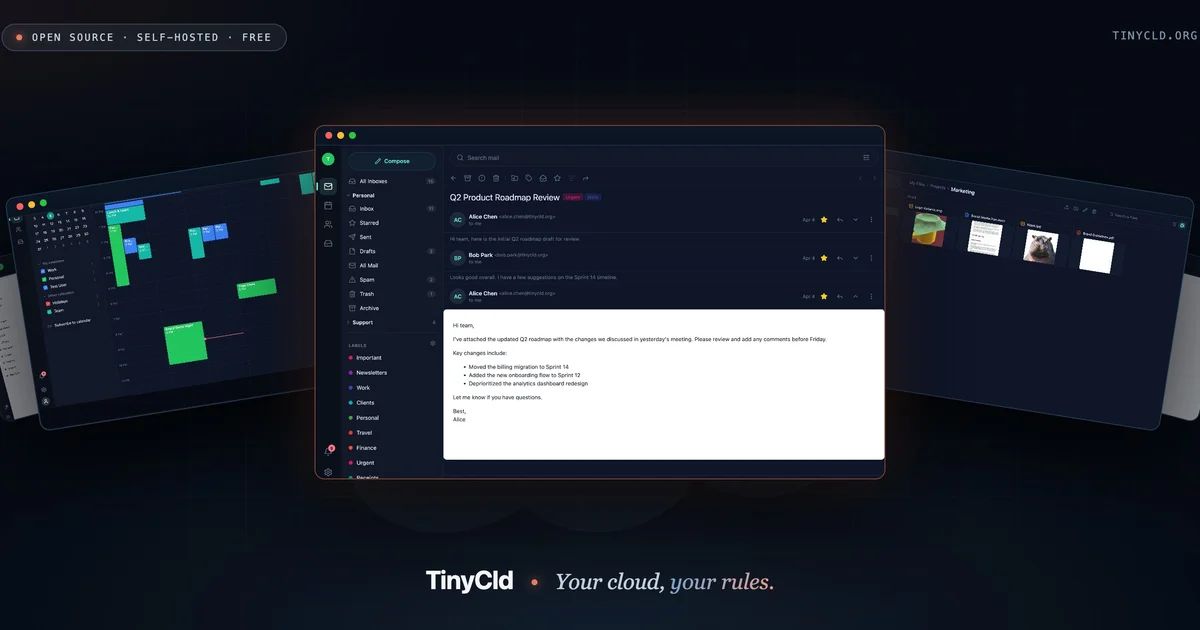
- Mail – Full email with threaded conversations, labels, attachments, and delivery tracking. Connect with any IMAP or SMTP client.
- Calendar – Shared calendars with recurring events, guest management, and real-time sync.
- Contacts – Centralized contact management with sync across devices.
- Drive – File storage with folder organization and sharing.
- Text – Rich text documents (optional package, not bundled by default).
- Calc – Spreadsheets (optional package, not bundled by default).
The project describes itself as:
“A self-hosted workspace alternative — Expo Router on the front, PocketBase on the back, every feature shipped as a separately-installable package.”
All apps speak standard protocols (IMAP, SMTP, CalDAV, CardDAV, WebDAV), so you can use the web UI, iOS app, or your favorite desktop client.
Why TinyCld?
- Own your data – Everything runs on your server, no third-party cloud dependency.
- Free forever – AGPL-3.0 licensed, no per-user fees.
- Standard protocols – Use any IMAP/SMTP client, not locked into a proprietary ecosystem.
- Fast setup – Docker Compose gets you from zero to a working mail server with HTTPS in 15 minutes.
- Modular architecture – Each feature is a separate package. Install only what you need.
Prerequisites
- Docker and Docker Compose installed
- A domain name (e.g.,
your-domain.com) - Ports 80, 443, 993 (IMAP), 465 (SMTP) open on your server
- Basic familiarity with DNS configuration (MX, SPF, DKIM records for email deliverability)
Step 1: Deploy with Docker Compose
The fastest path is the official Docker image:
# Create a directory for your TinyCld instance
mkdir ~/tinycld && cd ~/tinycld

# Download the docker-compose.yml from the docs
curl -O https://tinycld.org/docker-compose.yml

# Edit the .env file with your domain
cp .env.example .env
nano .env  # Set DOMAIN=your-domain.com

# Start the stack
docker compose up -d
The output should show:
✓ Pulling tinycld:latest
✓ Acquired Let's Encrypt cert · your-domain.com
✓ IMAP listening on :993
✓ SMTP listening on :465
✓ Web ready on :443
› Ready in 14.7s
Visit https://your-domain.com to access the web interface.
Step 2: Configure DNS Records
For email deliverability, you need to configure DNS records:
MX record (mail exchange):
your-domain.com.  IN  MX  10  mail.your-domain.com.
mail.your-domain.com.  IN  A  <your-server-ip>
SPF record (sender policy framework):
your-domain.com. IN TXT "v=spf1 mx ~all"DKIM record (domain keys identified mail): TinyCld generates a DKIM key on first run. Find it in the admin panel under Settings → Email → DKIM.
DMARC record (domain-based message authentication):
_dmarc.your-domain.com. IN TXT "v=DMARC1; p=quarantine; rua=mailto:[email protected]"Step 3: Create Your First User
After deployment, visit https://your-domain.com/admin to access the admin panel. Create your first user account:
- Navigate to Users → Create User
- Enter email, password, and display name
- Assign the Admin role
- Save and log in with the new credentials
Step 4: Connect Email Clients
TinyCld supports standard IMAP/SMTP protocols, so you can use any email client:
IMAP settings:
- Server:
mail.your-domain.com - Port:
993 - Encryption:
SSL/TLS - Username: Your full email address
- Password: Your account password
SMTP settings:
- Server:
mail.your-domain.com - Port:
465 - Encryption:
SSL/TLS - Username: Your full email address
- Password: Your account password
Architecture Deep Dive
TinyCld’s architecture is built on three pillars:
1. Expo Router (Frontend)
The web and iOS apps are built with Expo Router, providing a native mobile experience alongside the responsive web UI. The frontend talks to the backend same-origin via the /api proxy.
2. PocketBase (Backend)
PocketBase serves as the backend, handling:
- Authentication (JWT, OAuth2)
- Real-time data sync
- File storage
- Admin UI
The Go server on port 7101 manages all API requests, with the proxy on port 7100 routing /api and /_ to PocketBase and everything else to the Expo bundler.
3. Package System
Each feature (mail, calendar, contacts, drive) is a separate package with its own manifest.ts. The generator (tinycld-pkg CLI) walks workspace members and wires in routes, collections, sidebar slots, and PocketBase migrations.
To add a feature:
npx @tinycld/bootstrap@latest --assemble-only --with text
pnpm install  # links it + regenerates
Practical Evaluation Checklist
Before deploying TinyCld in production, verify:
- [ ] Email deliverability – Test with mail-tester.com to check SPF, DKIM, DMARC scores.
- [ ] Backup strategy – PocketBase stores data in SQLite. Set up automated backups of the
pb_data/directory. - [ ] SSL certificates – TinyCld handles Let’s Encrypt automatically, but verify renewal works.
- [ ] Resource usage – Monitor RAM/CPU. The Go server + Expo bundler typically uses 512MB–1GB RAM.
- [ ] Mobile sync – Test CalDAV/CardDAV sync with your phone’s native calendar/contacts apps.
- [ ] Spam filtering – TinyCld includes basic spam filtering. Consider adding rspamd for advanced filtering.
Security Notes
- Change default admin password – The first-run admin password should be changed immediately.
- Enable two-factor authentication – Available in the admin panel under Settings → Security.
- Restrict admin panel access – Use firewall rules to limit
/adminaccess to trusted IPs. - Keep Docker updated – Run
docker compose pull && docker compose up -dregularly to get security patches. - Review PocketBase auth rules – Each package defines auth rules in
pb_migrations/. Audit them to ensure proper access control.
FAQ
Q: Can I use TinyCld without self-hosting?
A: TinyCld is designed for self-hosting. The project does not offer a hosted version, but you can rent a VPS (Hetzner, DigitalOcean, etc.) for $5–10/month.
Q: Does TinyCld support custom domains for email?
A: Yes. You can configure multiple domains in the admin panel under Settings → Domains. Each domain gets its own MX, SPF, DKIM records.
Q: Can I import data from Google Workspace?
A: Yes. The @tinycld/google-takeout-import package imports Gmail, Google Calendar, Contacts, and Drive from a Google Takeout export.
Q: Is there a mobile app?
A: Yes, an iOS app is available on the App Store. The web UI is also responsive and works on mobile browsers. Android is planned.
Q: What are the system requirements?
A: Minimum: 1 CPU core, 1GB RAM, 10GB disk. Recommended: 2 CPU cores, 2GB RAM, 20GB SSD for production use.
Q: Can I use TinyCld for a team?
A: Yes. Create multiple user accounts in the admin panel. Each user gets their own mail, calendar, contacts, and drive space. Shared calendars and contacts are supported.
Q: Is TinyCld production-ready?
A: The project is in active development. The mail, calendar, contacts, and drive packages are stable. Text and calc are optional and less mature. Check the GitHub issues for known bugs before deploying.
Conclusion
TinyCld fills a real gap for teams and individuals who want a self-hosted Google Workspace alternative without the complexity of setting up separate mail, calendar, and file servers. The 15-minute Docker setup, standard protocol support, and modular package system make it approachable for both sysadmins and developers.
The AGPL-3.0 license ensures it stays free and open-source, though commercial relicensing is available for those who need it. If you value data ownership and want to escape the SaaS subscription model, TinyCld is worth evaluating.
Next steps:
- Try the sandbox demo (no signup, resets nightly)
- Read the getting started guide
- Join the GitHub discussions
Related Posts
dev-tools
AgentMesh – Define AI Agent Teams in YAML
Define multi-agent AI workflows in YAML and run them locally with one command. AgentMesh brings Docker Compose patterns to AI agent orchestration.
5/28/2026
ai-setup
IonRouter – Fast Low-Cost AI Inference API
IonRouter is a YC W26 inference API routing open-source and fine-tuned models via an OpenAI-compatible endpoint, built on a C++ runtime optimized for GH200.
5/28/2026
ai-setup
Prism – AI Video Workspace and API for Creators (YC X25)
Prism is a YC X25 AI video platform combining generation, editing, and an API for workflow automation. Generate assets, edit on a timeline, and integrate via.
5/28/2026