Tesserae – Self-Hosted Dashboards for E-Ink Displays
Turn your e-ink panel into a live dashboard with this open-source server. Compose in a browser, push over MQTT or REST, no cloud required.
TL;DR
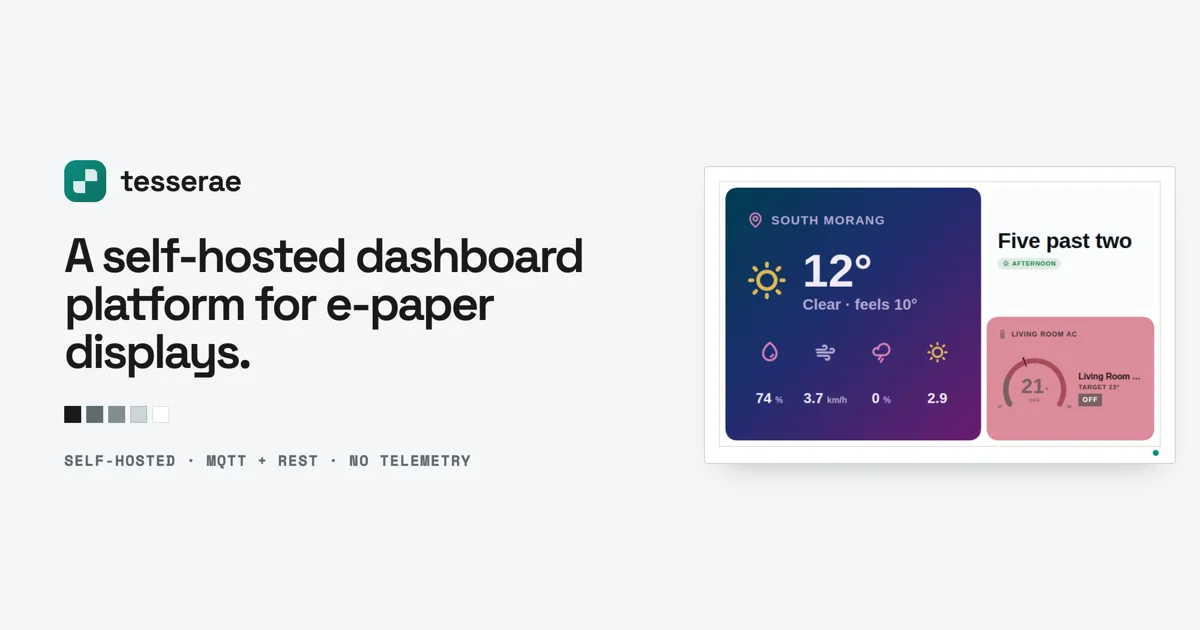
TL;DR: Tesserae is a free, open-source dashboard server for e-ink displays. You compose dashboards in HTML, it renders them headless via Playwright, dithers the output to your panel’s color palette, and pushes frames over MQTT or REST. No cloud account, no telemetry.
What Is Tesserae?
Tesserae is a self-hosted dashboard companion for e-ink displays. If you have a Raspberry Pi driving a Pimoroni Inky, a Waveshare panel, a TRMNL device, or even a jailbroken Kindle gathering dust, Tesserae can turn it into a live, auto-refreshing dashboard.
The core idea is simple: dashboards are plain HTML pages. The editor loads the same URL the production render does — a headless Chromium (via Playwright) screenshots the composition at panel resolution, so what you see in the editor is exactly what appears on the wall.
From the Tesserae README:
Self-hosted dashboard companion for e-ink displays. Compose tile-based dashboards in a browser, render the frame headless, push it to one or more panels over MQTT or HTTP. Open source under AGPL-3.0-or-later. No SaaS, no telemetry, no cloud account required.
Source and Accuracy Notes
- Project page: tesserae.ink
- Source repository: github.com/dmellok/tesserae
- License: AGPL-3.0-or-later
- Docs: docs.tesserae.ink
- HN launch thread: news.ycombinator.com/item?id=48732157
Hardware Supported
- Pimoroni Inky Impression (via client daemon)
- Waveshare panels (via custom firmware)
- Seeed reTerminal
- TRMNL devices
- Jailbroken Kindles (via TRMNL client)
Setup Workflow
Step 1: Run the Server via Docker
The fastest path is Docker Compose:
mkdir tesserae && cd tesserae
curl -fsSLO https://raw.githubusercontent.com/dmellok/tesserae/main/docker-compose.yml
docker compose up -d
Open http://localhost:8765. The first request walks through password setup and an onboarding wizard.
Other install options are documented at docs.tesserae.ink/install:
- Home Assistant App
- LXC / Proxmox / MicroCloud
- macOS / Linux / Pi shell installer
- Windows PowerShell
- Manual venv
Step 2: Pair Your Panel
Choose a hardware quickstart for your specific panel. The general flow:
- Install the Pi client (for always-on panels like Inky) or configure the REST endpoint (for battery clients like ESP32 or Kindle).
- The client daemon registers with the Tesserae server.
- From the compose UI, pair the panel to your account.
Step 3: Compose a Dashboard
- Open the editor at
http://localhost:8765/compose. - Add widgets — each is a plain HTML page. A widget gallery and community catalog are available.
- Preview renders at panel resolution in real time.
- Assign the dashboard to one or more panels and set a refresh cadence.
Step 4: Frames Reach the Panel
When a dashboard changes (or on a timer), Tesserae:
- Renders the HTML via headless Playwright.
- Runs Floyd-Steinberg dithering against the panel’s measured color palette.
- Packs bytes into the panel’s native format (4-bit Spectra 6, 1-bit mono, or 4-bit grayscale).
- Pushes over MQTT (always-on clients) or serves via REST with
If-None-Match/ 304 caching (battery clients).
How the Rendering Works
The README explains the rendering pipeline in detail:
The frame then goes through a per-device renderer: Floyd-Steinberg dithering against the panel’s measured color palette (Spectra 6 and ACeP panels don’t actually produce sRGB primaries; calibrated measurements come from epdoptimize), then packing into the exact byte format the panel wants.
This means color accuracy on multi-color e-ink panels depends on actual color measurements of your specific panel — not guesswork. Tesserae includes a calibration tool via epdoptimize to get those measurements.
Widget Architecture
Widgets, renderers, and device kinds are all drop-in plugins (folders). The developer documentation covers how to build a custom widget. The hardware support guide covers adding a new panel type.
Security Notes
- No telemetry. The server phones home for nothing.
- No cloud account required — everything runs on your own hardware.
- MQTT can be secured with TLS; REST clients use
If-None-Matchto avoid redundant frame downloads. - Password setup is enforced on first launch.
FAQ
Q: Does this work with a Kindle Paperwhite? A: Yes — jailbroken Kindles with the TRMNL client can receive frames via REST. TRMNL is a supported Tesserae target.
Q: How does the panel update? Does it stay on Wi-Fi constantly? A: For always-on clients (Raspberry Pi + Inky), frames are pushed over MQTT the moment a dashboard changes. For battery clients (ESP32, Kindles), the device wakes, fetches only if the ETag changed (304 = skip), posts battery/RSSI telemetry, and deep-sleeps. No constant Wi-Fi draw.
Q: Can I use a custom HTML widget without writing code? A: Yes. The widget gallery has community-built widgets. You can also paste any public URL into the composer if it renders well at your panel’s resolution.
Q: Is there a Home Assistant integration? A: Yes — Tesserae has a Home Assistant App install path.
Conclusion
Tesserae solves a niche but satisfying problem: you already own e-ink panels that could be showing useful information, but the existing tools are either cloud-dependent or too rigid for custom dashboards. Tesserae’s HTML-first, self-hosted approach means you own the whole stack — from the widget HTML to the dithered bytes on your panel.
If you have any e-ink hardware gathering dust, Tesserae is worth a look. The Docker Compose install takes under five minutes.
Related Posts
dev-tools
AgentMesh – Define AI Agent Teams in YAML
Define multi-agent AI workflows in YAML and run them locally with one command. AgentMesh brings Docker Compose patterns to AI agent orchestration.
5/28/2026
dev-tools
Cicada – FOSS CI/CD That Replaces YAML With a Real Language
Cicada replaces GitHub Actions and GitLab CI YAML configs with a custom functional DSL, letting you write pipelines using variables, functions, and shell.
5/29/2026
dev-tools
Stacktape – Deploy to AWS Without DevOps Knowledge
Stacktape is a DevOps-free cloud framework that cuts AWS deployment config by 98%. Supports serverless and containers, 20+ infra components built-in, and a.
5/29/2026